Shugo Imperial Tomb
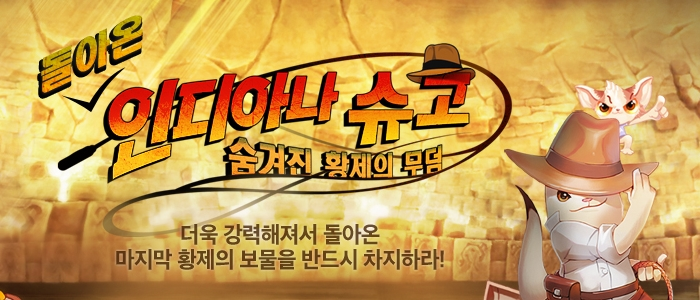
Transform into a Shugo Warrior and discover a new mini-game instance!
Shugo Imperial Tomb is an event instance for all Daevas.
Your character must be at least 51 and once you transform your class and gear won't matter.
Your group can not have more then 3 members.
Contents
Features
| Entry Conditions | All Daevas connected to Aion |
| Required Level | 51 ~ 65 |
| Group Size | Up to 3 people |
| Entry | Available once a day (resets at 9:00am) |
| Cheat Sheet |
① Shugo Imperial Tomb is a 3 stage defence mini-game. ② Collect 4 pieces of the Treasure Map to claim your rewards. ③ It's important to gather as many Treasure Keys as possible. ④ Inside the Treasure Room, there are multiple Treasure Boxes containing various rewards. |
Entrance
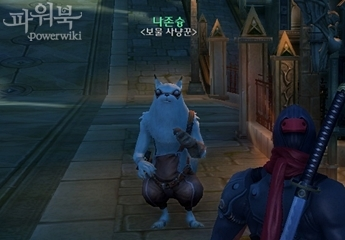
Shugo Imperial Tomb is accessible by groups of 2~3 players, you can find entry Shugos in both capitols.
- Elyos Entry NPC: Sanctum near the Elyos Square
- Asmodian Entry NPC: Pandaemonium near the Vifrost Bridge
Elyos NPC - Sanctum near the Elyos Square
Asmodian NPC - Pandaemonium near the Vifrost Bridge
How to Proceed
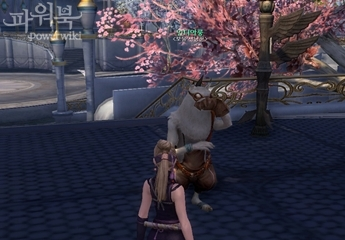
When you enter the Shugo Imperial Tomb you will be automatically transformed into a Shugo Warrior.
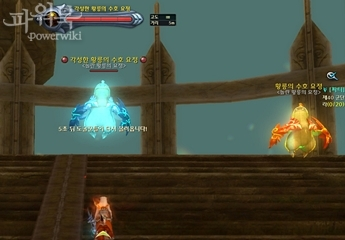
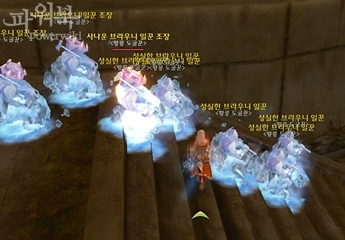
In the middle of the room, you will see 2 small Tombstones and 1 slightly larger one. Appearing waves of monsters will slowly walk towards those 3 Tombstones.
Your objective is to kill walking monsters before they reach the Tombstones using extra skills provided for you.
■ How to Proceed
1. You can only use Shugo skills.
2. The goal is to kill all monsters before they destroy the main tower.
3. This instance is composed of 3 stages. (①Mausoleum of the Prince → ②Empress' Ring → ③Emperor's Mausoleum)
4. You can find Treasure Map pieces and Treasure Keys by killing elite monsters in stages 1, 2 and 3.
5. You can obtain rewards at the end by using the Treasure Map pieces and Treasure Keys.
- You can obtain helping supplies by killing fairies. (only usable inside the instance)
- You can move to a next stage only by talking to an NPC.
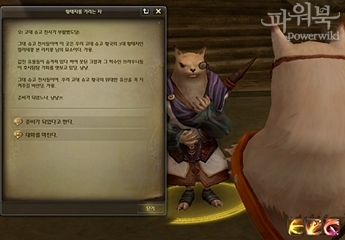
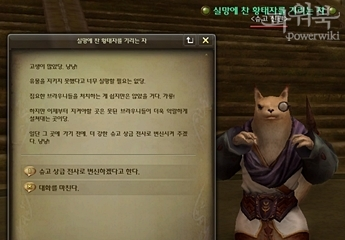
Start the game by talking to this Shugo!

Monsters appear in bunches
Use special skills to keep the Tombstones from being destroyed
With each stage your transformation will be stronger
Transformation Skills
When you enter the instance only transformation skills can be used. (Profession specific skills and general supplies can not be used)
At the start you will only have 3 skills, each next stage will grant you stronger transformation and 1 extra skill.

Initially you will noly have 3 skills
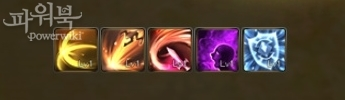
At stage 3 you will have 5 skills
■ Types of Shugo Transformation Skills
| Skill Name | Explanation | Stage | |
| Normal Attack |
A normal attack used by an ancient Shugo Warrior. Inflicts 250 damage a piece on up to 2 enemies. - Target: Area around caster - Casting Time: 0s - Cooldown: 0.8s |
Stage 1 | |
| Sharp Blow | Attack Skill of the ancient Shugo Warrior. Causes 3000 physical damage to a selected target. - Target: Selected Target - Casting Time: 0s - Cooldown: 4s | ||
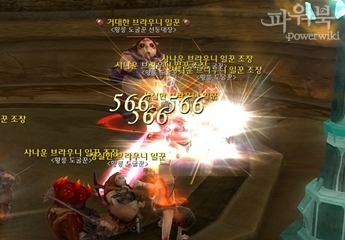
| Lightning Bolt of Justice |
Up to 4 enemies in your vicinity will incur 566 ~ 567 additional damage. - Target: Area around caster - Casting Time: 0s - Cooldown: 8s | ||
| Scatter Poison |
Use your DP to deal 339 damage over time to up to 8 opponents at a distance of up yo 10m away every 1s for 10s.- Target: Area around caster - Casting Time: 0s - Cooldown: 0s - Cost: DP 1000 |
Stage 2 | |
| Reflecting Aetheric Field | Your own DP is used and an Aetheric Field is created that protects the Emperor's Tombstone. For 8s all enemy attacks on the Tombstone will be repelled. - Target: Area around caster - Casting Time: 0s - Cooldown: 0s - Cost: DP 2000 |
Stage 3 |
Elf Supplies
In each stage fairies will randomly appear, kill them to obtain supplies that will help you progress through the dungeon. Those items can freeze all monsters on the screen, restore some of your DP or even heal damaged Tombstones.
Get rid of them to obtain supplies
They can freeze all monsters on the screen!
■ Types of Elf Supplies
| Name | Explanation | |
| Elf Essence | Instantly restores 2000 DP. | |
| Powerful Elf Essence | Instantly restores 4000 DP. | |
| Freezing Curse | Freezes all enemies in the Imperial Tomb for 6 seconds. | |
| Healing Spell | The HP of the Imperial Tombstone instantly increase by 50%. |
- Supplies are going to disappear once you leave the instance. feel free to use as many as you need.
Stage Configuration
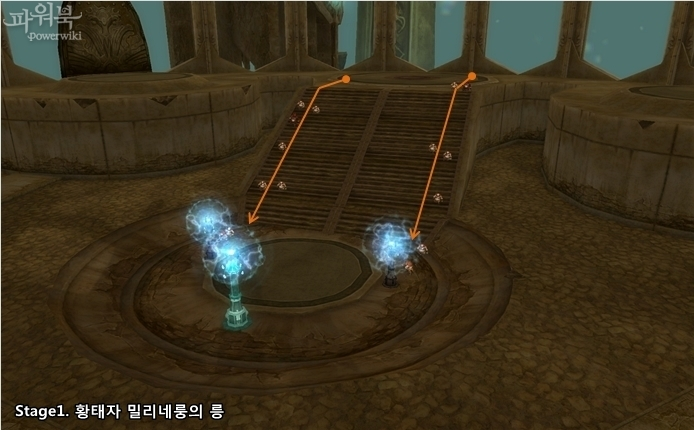
Stage 1
Monsters attack from two sides
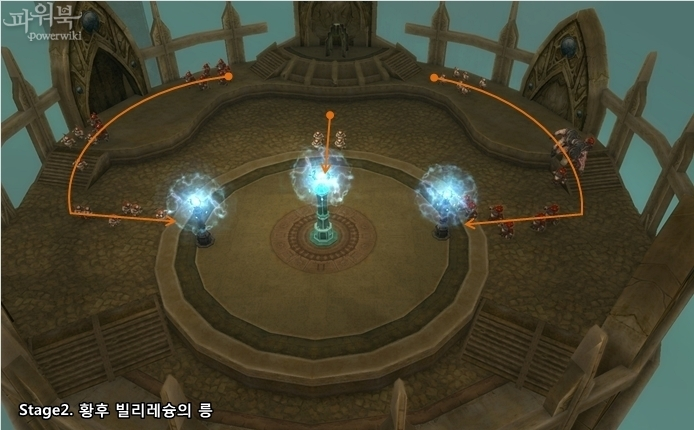
Stage 2
All 3 Tombstones are being attacked at the same time
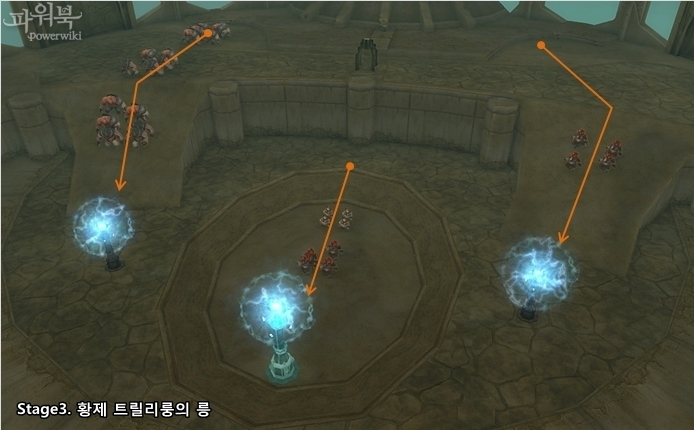
Stage 3
Monsters attack from all 3 directions
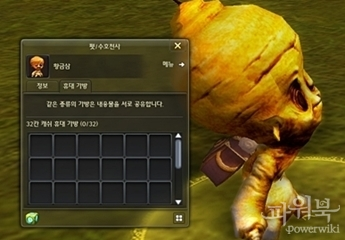
Treasure Room Information
When you clear all the stages, you can enter the Treasure Room and claim your rewards.
However, in order to enter the Treasure Room and open Treasure Chests following steps have to be completed first.
| ①Collect all 4 Treasure Map pieces → ②Acquire one of the Treasure Room Medals → ③Access the Treasure Room → ④Use Treasure Chest Keys to open Treasure Boxes |
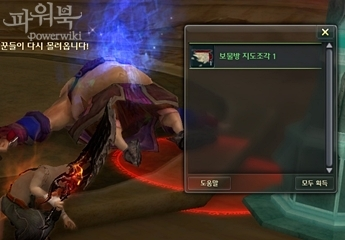
Bosses in each stage can drop pieces of the Treasure Map
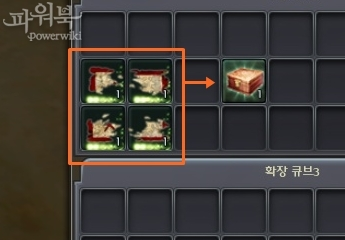
4 Treasure Map pieces can be combined into a Treasure Room
Ticket
①Collecting 4 Treasure Map pieces
- First piece of the Treasure Chamber map: Obtainable from one of the bosses.
- Second piece of the Treasure Chamber map: Obtainable from one of the bosses.
- Third piece of the Treasure Chamber map: Obtainable from one of the bosses.
- Fourth piece of the Treasure Chamber map: Obtainable from one of the bosses.
- Ordinary Treasure Chest Key: Can be obtained from bosses in each stage.
* Map pieces and Ordinary Treasure Chest Keys are destroyed once you leave the instance.
②Acquireing Treasure Room Medals
- Combine all 4 Treasure Map pieces into one random Treasure Room Medals.
- Final boss drops 3 random Treasure Room Medals (one for each participant).
- Bronze Medal of the Crown Prince / Silver medal of the Empress / Emperor's Gold Medal
* Treasure Room Medals disappear once you leave the instance.
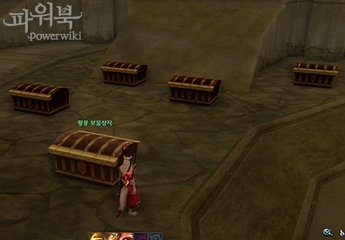
③Accessing the Treasure Room
- Once all 3 stages have been cleared click on the Sacred Altar.
- Depending on the Treasure Room Medal you received choose the type of the Treasure Room.
④Obtaing Rewards from the Treasure Boxes
- In the Treasure Room you will find two types of Treasure Chests. Emperor's Relic can be opened with only 1 Treasure Chest Key.
- Special Chests will require 3 Treasure Chest Keys to open.
- You can collect Treasure Chest Keys from the bosses in each stage, additional means of obtaining them might be available during this event.
- Depending on the type of the Treasure Room probabilities and rewards might very.
Emperor's Relic
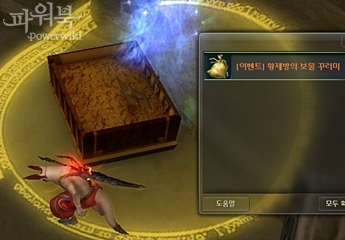
Choose which boxes to open carefully!
Rewards
Players can find various rewards in the Treasure Chests.
Each type of the Treasure Room and Treasure Chest might drop different items with different probabilities.
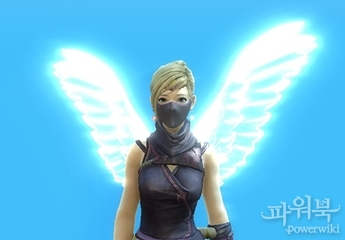
You can usually find some unique Wings
or Pets
■ Treasure Room Rewards
| Level | Name | Description |
|---|